There are several ways to convert images to vectors. In this article we will explain you 3 of them according with the 3 more popular design tools available in the market: Illustrator, Corel Draw and Inkscape (Free).
Of course there are other softwares that allow you to do this, one of them that we won’t discuss here is Vector Magic that offers an online solution for a monthly fee. Check it out if you are interested, but you won’t know how it turns out until you pay.
But before we dive deeply into the matter let’s clarify the term “vector”
Vectors images vs Raster Images, how do they differentiate?
Digital images can be of two types. The most common ones are the so called raster images or photos (ie. .jpg, .png, .tiff, .gif). Raster images are formed with pixels and the more pixel you add to an image, the bigger it will be. However pixel images cannot be amplified without loosing quality.
Vectors (.svg, .ai, .cdr, .pdf) on the contrary, are images composed by lines, shapes and colors. They are made using a mathematical equation that defines all the characteristics of an object such as color, size or position. This allow you to resize them preserving its original look no matter how big you want your vector image to be.
This is why we say that vectors are the future! They allow us to print images in a super high resolution without losing quality. Of course not all vector images work for this, but most of them do.
✅ Option 1: Convert image to vector with Illustrator
Adobe Illustrator allows us to convert images into vector easily.

The process is relatively easy and it can be done in just a few steps:
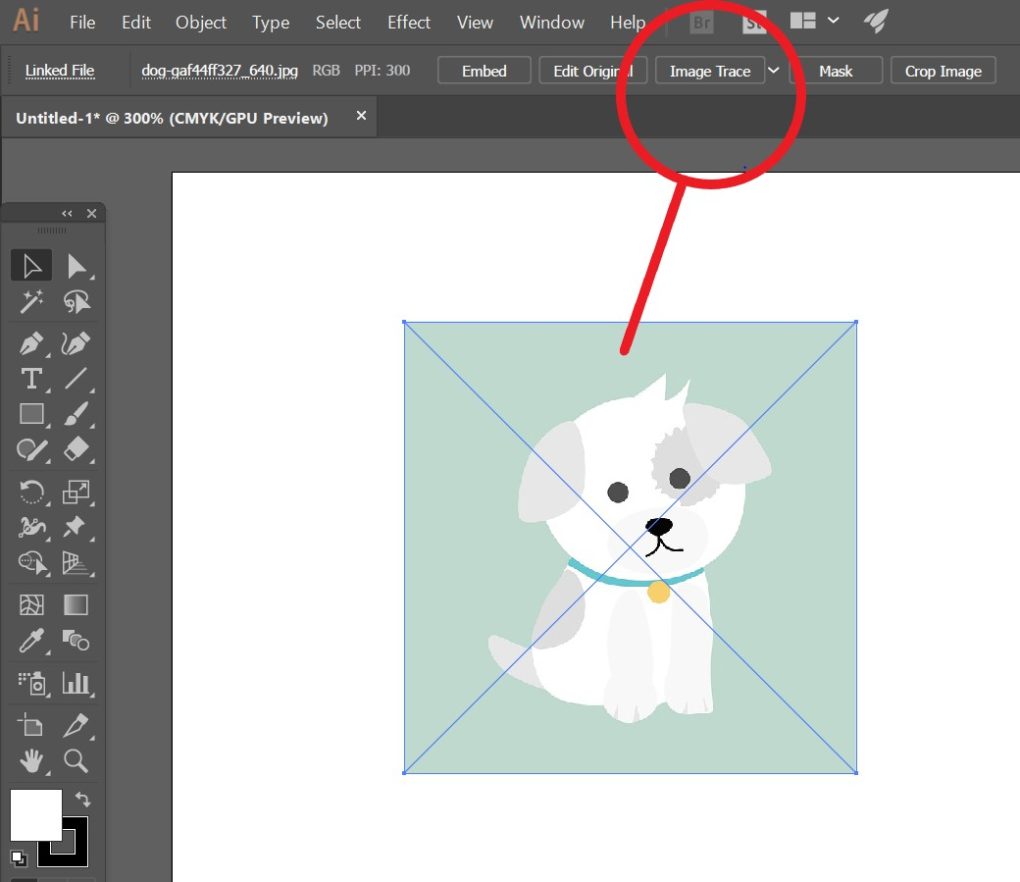
- Open your file with the raster image. Select Image > Image Trace.
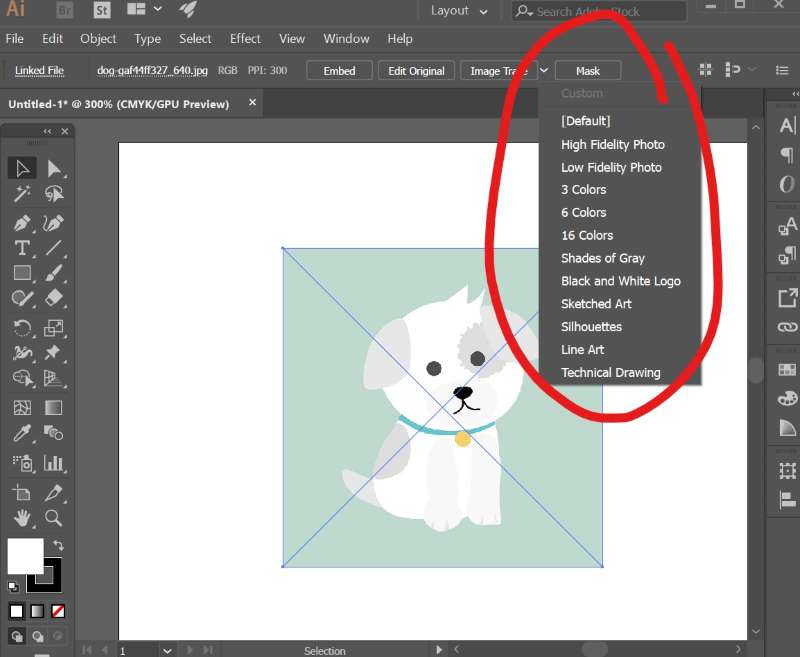
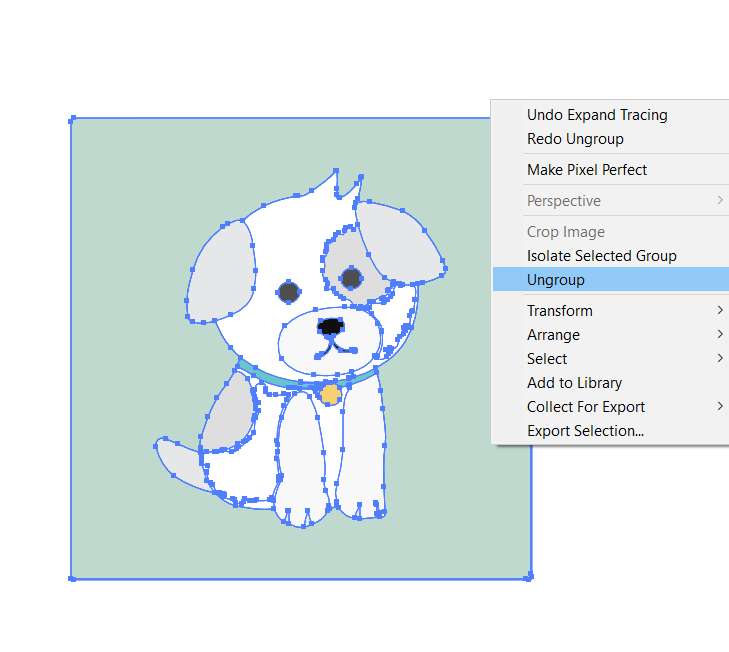
- A new window will pop up, try the options and see how it turn out (if you don’t like it undo and repeat). You can play around with the other options to get it looking exactly how you want.
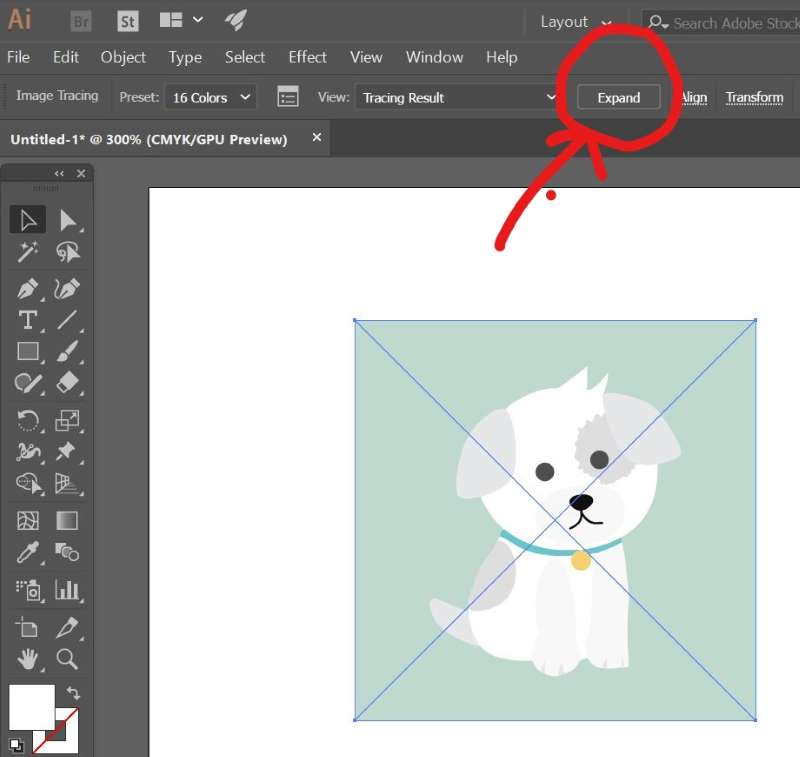
- Now click on Expand in order to convert your image into vectors. Delete all unnecessary information (like backgrounds) so that only your vector image remains.
And voilà! You now have a vector version of your original photo, ready to use for whatever you want without losing quality.
✅ Option 2: How to turn an image into vector using Corel Draw
Import or drop the image
Another way to convert images into vector is by using Corel Draw.
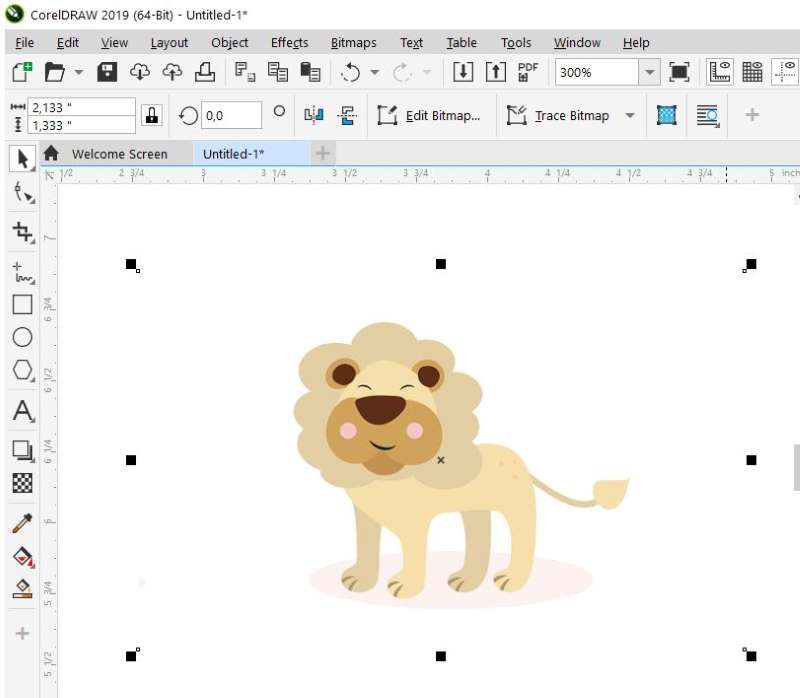
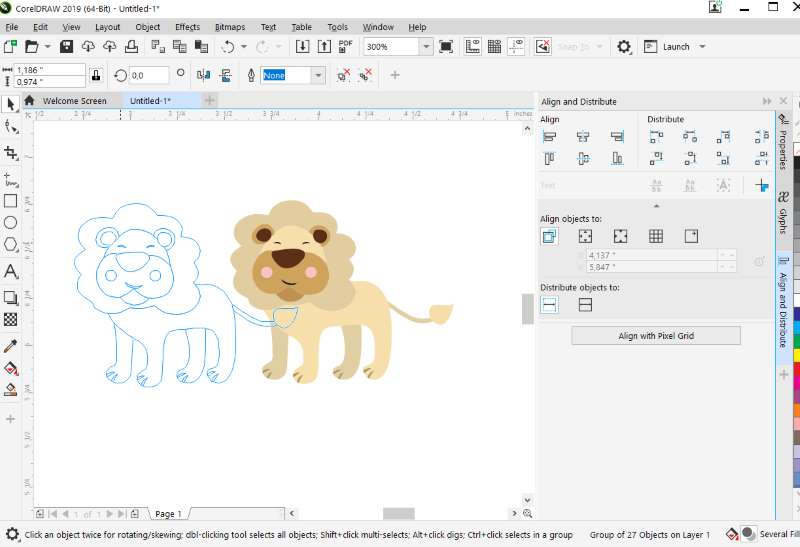
- To do this you need to start by opening the image (raster) that you want to turn into vectors in Corel Draw, which will identify it as a bitmap file type. You can either import or just drop it on the canvas.
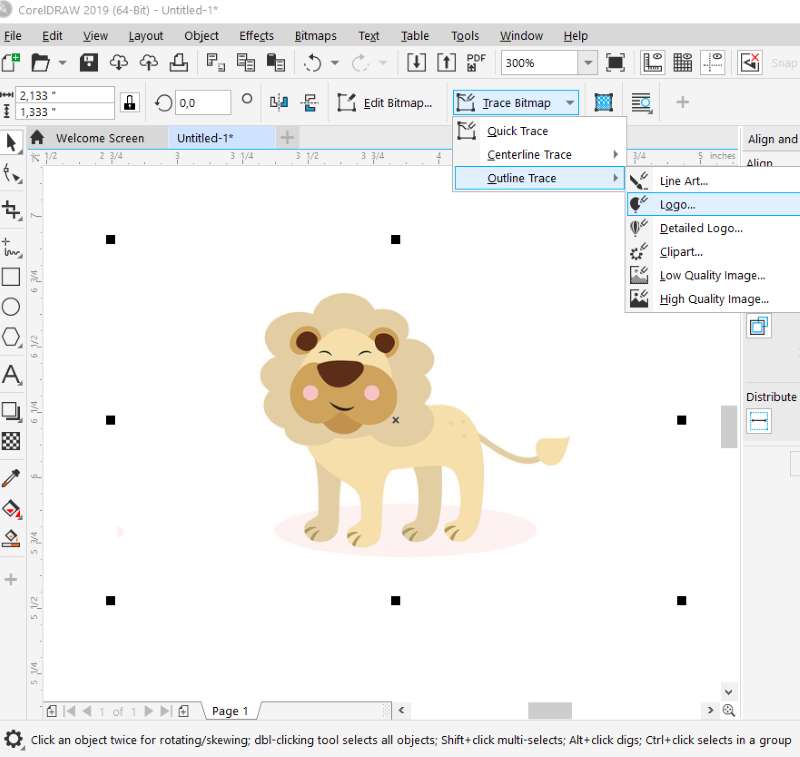
- Select the image and go up on top and click on trace bitmap: try options and choose the one that fits your needs. For this example we chose Detailed Logo.
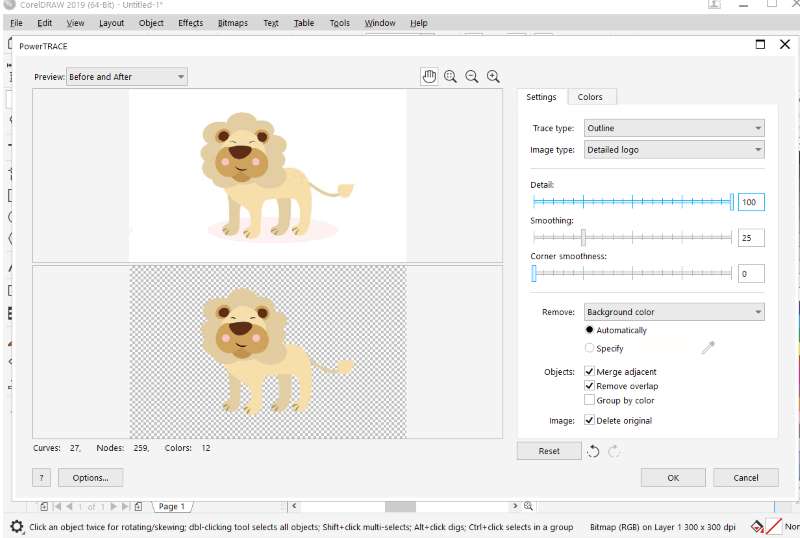
- Click OK when done making adjustments (as the lions eyes werent there, we move the detail to 100%) and you will be able to see your image in vector form. If you move the image around you will see a blue line marking the vector lines.
Now all you have left to do is Save As… (by default it saves as .bmp, which cannot be used for vectors.. so make sure that the file type says *.cdr).
✅ Option 3: Vectorize images in Inkscape
Inkscape is a free vector design software.

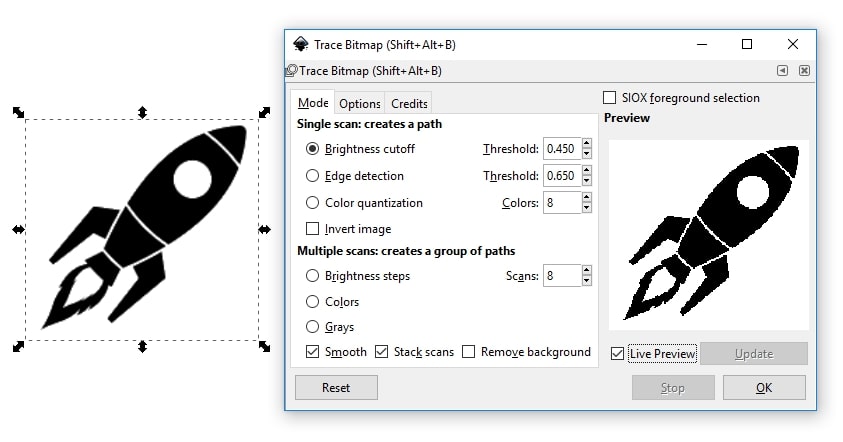
Trace Bitmap dialog

- To turn an image into vectors in Inkscape you have to go up on top, click File > Import… and select your file with the raster image that you want to introduce as .png or any other format supported by Inkscape (.svg, .pdf)
- Once you have your image inside Inkscape make sure it is selected and go up on top to click Extensions > Trace Bitmap…
- A new window will pop up where you can adjust the settings of your vector conversion. Once done click OK and enjoy!
In the case that you want to convert an image into vectors in Inkscape, but your file is not showing up on this window when clicking Extensions > Trace Bitmap… don’t worry! Do the following:
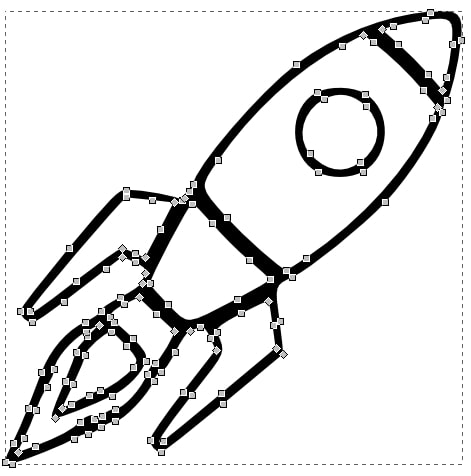
- Just go up again and click Path > Trace Bitmap… A new pop-up window will appear with the same settings. You can just click OK and then select your image that you want to convert into vectors in Inkscape, so it appears on this new pop-up window.
Learn more about tracing an image in Inkscape
Troubleshooting: image with other formats
And here is a little trick: if you have an image with transparency (.png) or any other format that Inkscape doesn’t understand (like .psd, which is a Photoshop file) you can do the following:
- Import your image as usual and then take it out of Inkscape.
- Open up Gimp (another free tool similar to Adobe Photoshop) and paste the image there.
- Once done click File > Export As… and save it as .png
Now you can go back to Inkscape and import your image with File > Insert Raster… It will appear in the project manager, so all you have to do is select it and click Extensions > Trace Bitmap… A new pop-up window will show up again. Click OK once done making adjustments (this will happen a couple of times) and you will be able to see your vectorized image.