How to Apply an Iron On Patch?
Do you want to add some extra personality to your clothes with some cool patches? Applying an iron on patch is a quick and easy way to do so, and today we’re going to show you how to do it! It’s actually a lot simpler than you might think. Just follow these step-by-step instructions, and in no time at all you’ll have a patched up shirt that looks like new.
Total Time Needed :
10
Minutes
Total Cost:
5
USD
Required Tools:
Things Needed?
Steps to configure the How-to Schema:
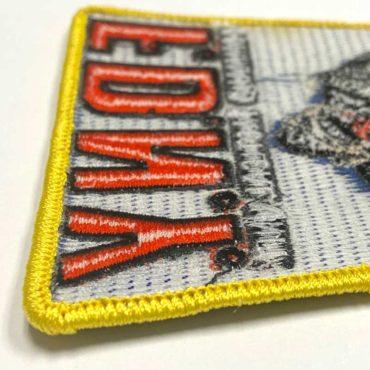
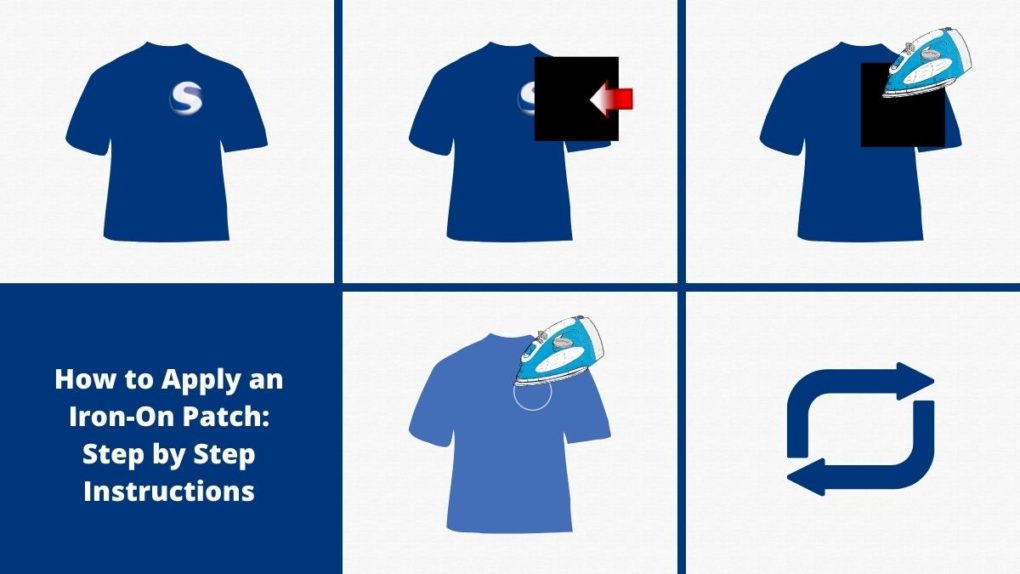
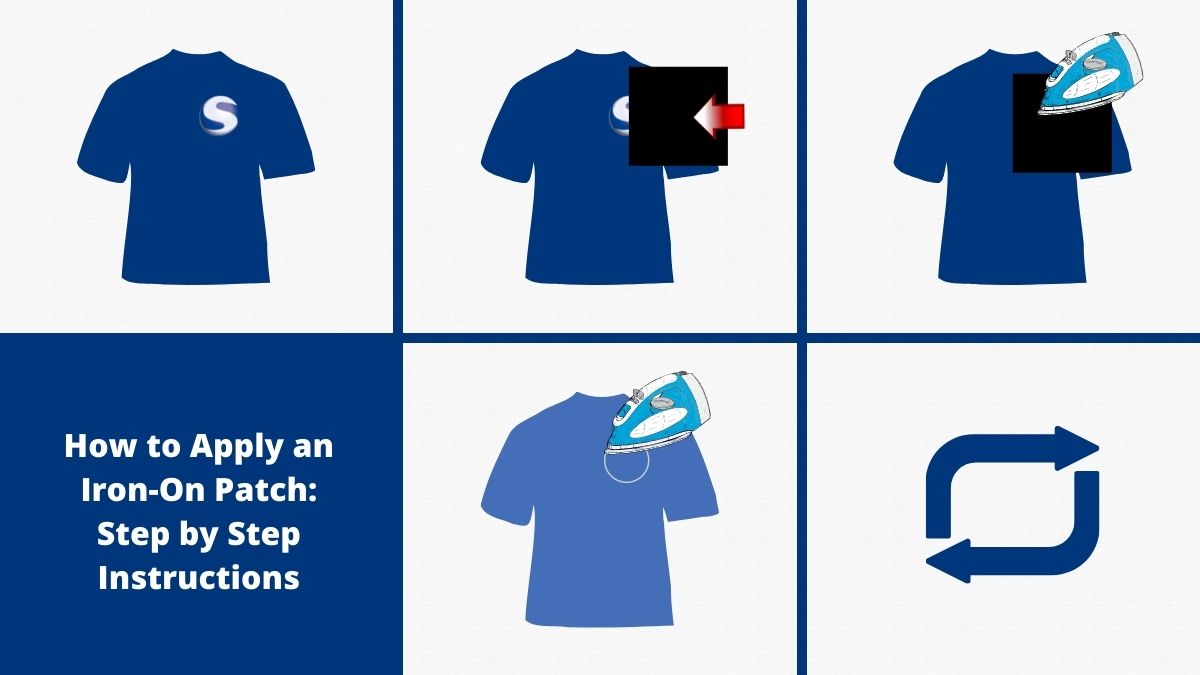
So let’s get started. The first thing you need to do is choose the right patch for your project. There are all sorts of different patches out there, so take a look around and find one that you like.
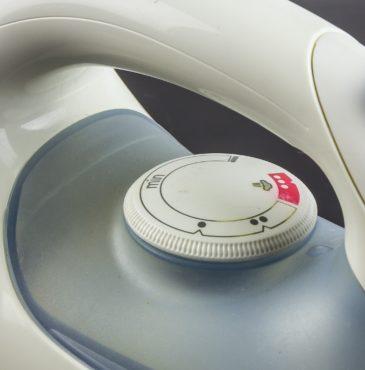
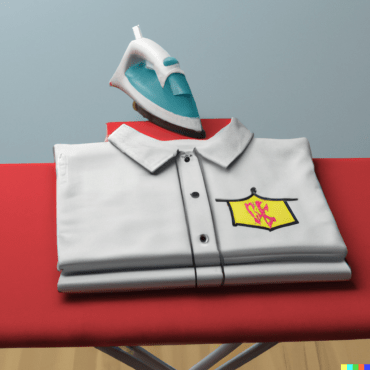
Once you’ve got your patch, the next step is to preheat your iron and place a thin towel or cotton cloth over the patch. This will help protect the fabric of your shirt and keep it from getting too hot.
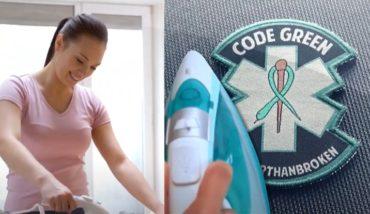
Then, place the iron over the patch and press down firmly for about 15-20 seconds. Make sure to hold it in place so that the heat can properly fuse the patch to the fabric.
So there you have it. Applying an iron-on patch is a quick and easy way to fix up your clothes, and it’s a great way to show off your personality too. So go ahead and give it a try!
If you’re looking for some cool customized patches to get started, we supply wholesale personalized patches. Wheather you be looking for embroidered, woven, printed or PVC Patches we can please your needs. And don’t forget, if you need any help or have any questions, our team is always happy to assist. Just give us a call or send us an email, and we’ll be happy to help you out. Thanks for reading, and we hope this was helpful!
Did you find this blog post helpful? Share it with your friends on social media! And be sure to check back soon for more great posts like this one. See you next time!
