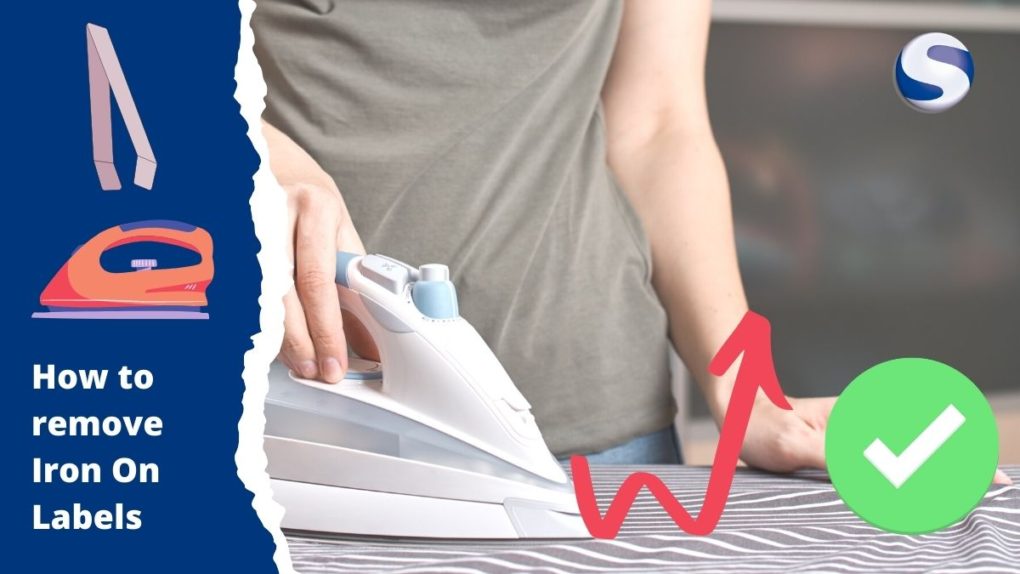
Iron on labels are popular for their ability to label almost anything. They can be used at home, in the office, and even while camping! But what happens when you need to remove an iron-on label? This article will show you how to do it step by step.
There is a good way to peel the label off of the adhesive. Heat it up first. When it gets hot, then it will be easy to peel off the label.
However, when removing the labels, be careful because the surface is extremely hot. To handle the label, use a pair of tweezers instead of your fingers.
Iron-on Labels from Sienna Pacific
At Sienna Pacific we offer high quality customized iron on clothing labels. We manufacture all sort of labels for the fashion industry from woven and satin printed labels to PVC Labels and hangtags allowing you to choose from a wide range of options as special metallic threads, reflective surfaces, types of folds etc. Nevertheless sometimes, and for a number of unimportant reasons, customers need to detach the labels from their clothing. How to do this? We explain it in 7 simple steps.
Remove iron on labels: Step by Step Process
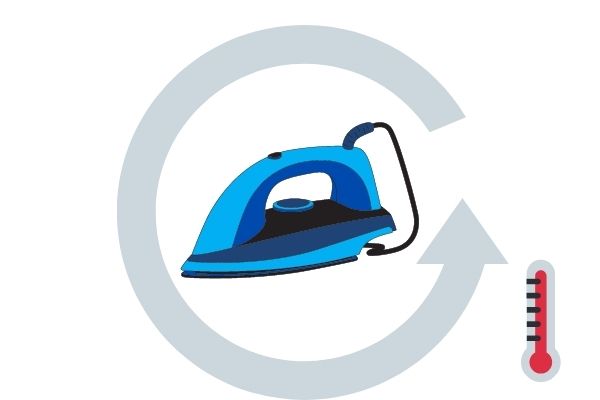
1. With the steam knob turned off, set the iron to medium-high heat.
As the steam from the iron can moisten and damage any material, you should turn it off.
What kind of iron is best?
- There are different kinds available, but the most common type for removing adhesive labels is a standard household clothing iron.
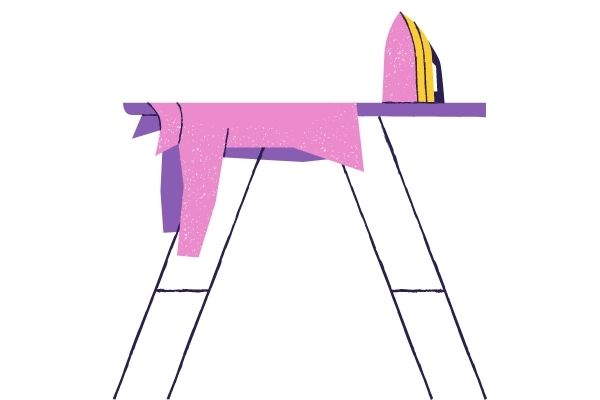
2. Place the garment on an ironing board with the label you wish to remove readily visible and cover it with a layer of parchment paper.
An ironing board is used to secure the clothing in place while you are removing the label.
If you do not have an ironing board, a large book or even another piece of clothing could be used to hold the garment in place.

3. Iron on top of the parchment paper with a circular motion and constant pressure for 10-15 seconds.
The parchment paper protects the garment from getting scorched by the iron. The circular motion ensures that you apply an even amount of heat to all areas around the label and constant pressure does not stop for a moment which may cause steam pockets to form under your fabric. This step is essential if you want to remove your label successfully as these three variables help loosen it’s grip on both, its own adhesive backing and onto other parts of your clothing .
4. After the label has been heated, carefully pull up one corner with a pair of tweezers.
A pair of tweezers will allow you to remove the label without damaging any part of your garment or yourself.
Do not use your fingers as they can become irritated by how hot the iron is and damage may occur if this steamy substance gets onto them (and it will because that’s what happens when you’re trying to apply constant pressure).
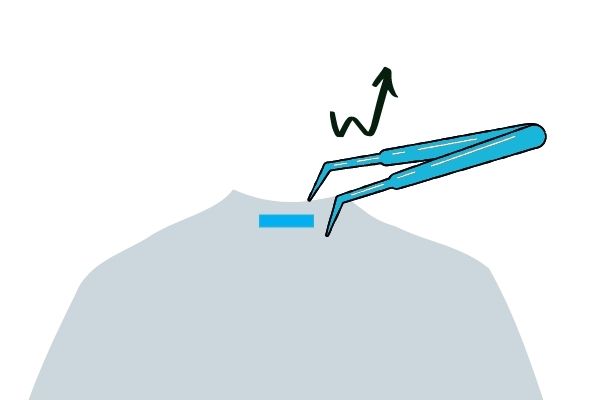
5. Lift the label corner gently and pull the label off of the garment.
Be careful! The surface is extremely hot. You don’t want to burn yourself, especially since there are steps coming up where you’d be leaving go of one hand for a few seconds at a time .
Although some users recommend using an adhesive remover like Goo-Gone, we suggest avoiding chemicals due to their potential harmful effects on clothes; alternatively simply rub off excess residue with a dry cloth or sponge .
6. If you can’t lift the label without difficulty, place the parchment paper over it and heat for another 5 seconds with the iron.
Label removal may take a few times if your garment is particularly stubborn to unstick.
Don’t worry! If you’ve already removed most of your labels successfully and only need to remove one or two more then this step will be faster than Step #o above because now that we’ve gotten rid of some excess adhesive from our top layer -the glue backing won’t have as much grip on what remains underneath- so by repeating these steps you’ll see results almost instantly .
7. Continue to heat in 5 second intervals until the label is able to be lifted.
If all has gone according to plan at this point, congratulations: You’re done !
You should celebrate by taking off those clothes and enjoying them with no labels on .
Let’s Get Started
If you are thinking about ordering your Custom Clothing Labels, just fill out our simple quote request form, our expert Sales Reps will get back to you within 24 business hours and guide you through every step of the process.