Have you ever seen an image online that you loved, but couldn’t find a way to save it? Maybe you wanted to use it as the background for your phone or computer, but couldn’t figure out how to save it? Today, I’m going to show you how to trace an image in Illustrator and save it as a file. It’s really easy, and can be done in just a few minutes.
So let’s get started!
How to Trace an Image in Illustrator
If you don’t have Adobe Illustrator installed in your computer or device, you can download it from the Adobe website, they have a 14 day trial which gives you a little bit of time to test drive it.

Total Time Needed :
5
Minutes
Total Cost:
0
USD
Required Tools:
Things Needed?
Steps to Trace an Image in Illustrator:

Never used Illustrator? We got you! Creating a New Document in Illustrator is easy-peasy. “Upon launching Illustrator, you’ll see the Start workspace. Click Create new to open the New Document dialog box. Or simply press Control+N (Windows) or Command+N (macOS).”
https://helpx.adobe.com/illustrator/how-to/create-new-document/
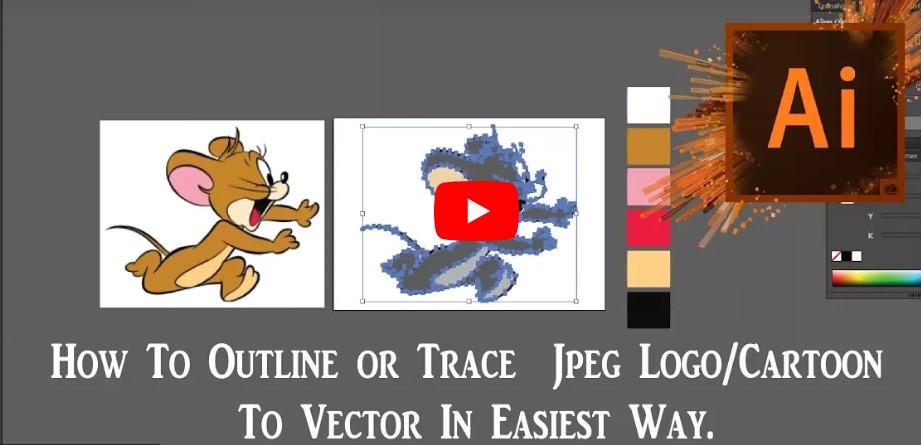
For the next steps we are going to follow the lead of a popular Youtube video on how to trace an image in illustrator.
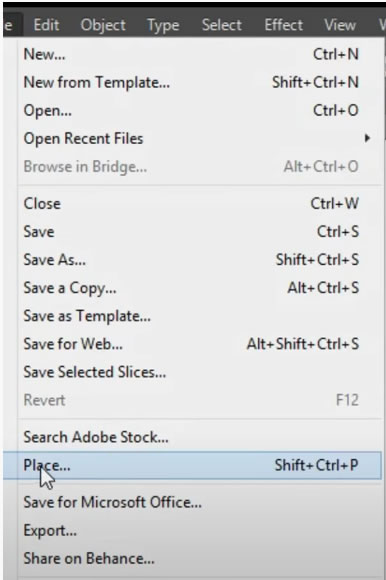
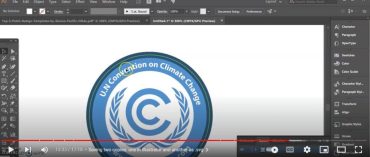
If you don’t know how to Import an Image into Illustrator, just go to File in the Top Menu, and click on Place and it will prompt you to choose the image you want to import.
Read More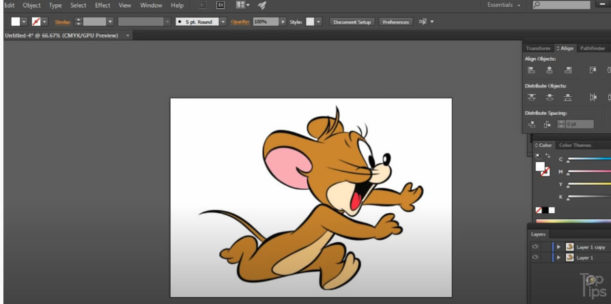
In this step, we are going to make sure we have the right elements in our screen so the final result is what we are looking for.
At 2:09 We are going to duplicate the image and move it to the side as a reference. You can do that by copying it (Command / Ctrl + C) and pasting it to the front (Command / Ctrl + F) and to the back (Command / Ctrl + B).
We are going to create a color reference for the colors we want to use in our design.
At 2:50 He describes how to create our colored boxes, so our final result is this image above.
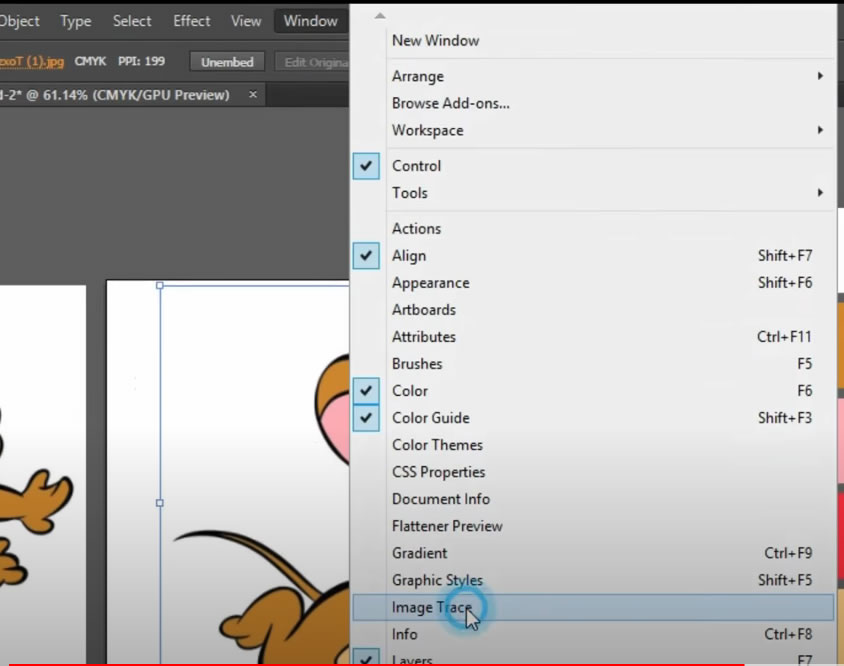
From the menu Window > Image Tracing. Select the appropriate options according to the image you are tracing: Mode: Color; Colors: 6. click on TRACE.
4:21 Window > Image Tracing
Select the Options to Match Your Image Specs. Click on TRACE.

In this step we are goin to ungroup the Traced Image and edit it’s colors using our homemade color reference palette. First we need to Expand the image: File < Expand > OK. The result will be a Group with Vector elements inside. Click on each element to change its color as needed.

Select the original .jpg / .png image and delete it.
For any other Ordering or Artwork Questions, visit our FAQ Page.